As mentioned in my previous post, I am working on home automation (mainly) with HomeMatic IP (HMIP). Well, and one gap I could find in their quite extensive range of different sensors was, that they did not have a glass breakage sensor – only window/door opening sensors. But because I wanted to secure all windows in our basement with both methods, I had to get creative.
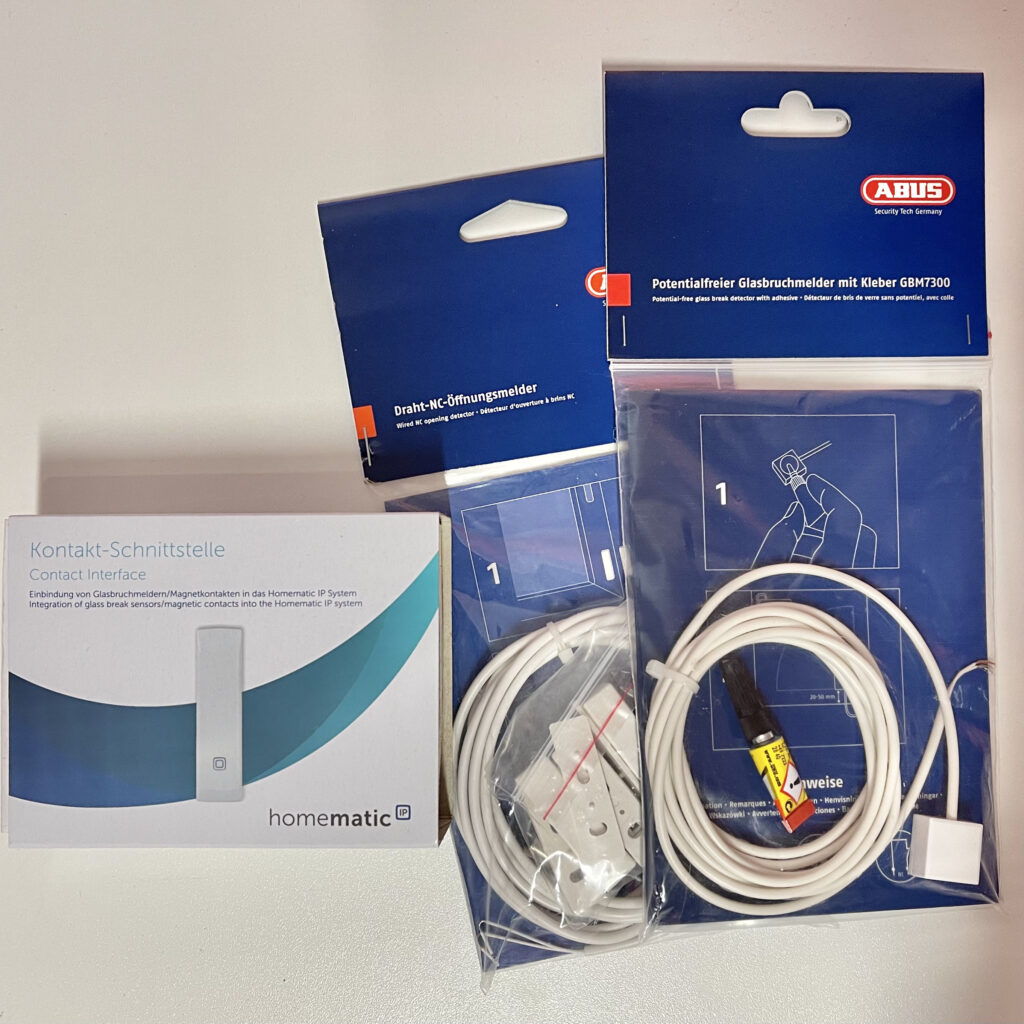
After a little research I ended up with these components:
- HomeMatic IP Kontakt-Schnittstelle 153149A0 HmIP-SCI (HMIM contact interface) costing about 30€ a piece.
- Abus Draht-NC-Öffnungsmelder FU7350W (Abus wire normally closed opening sensor) about 8€ a piece.
- Abus Potentialfreier Glasbuchmelder mit Kleber GBM7300 (Abus potential free glas breakage sensor with glue) for about 15€ a piece.

The combination of these sensors allows me to secure windows and doors agains glass breakage and opening with just one sensor per window. Making it not only cheaper but also causing less traffic on the HomeMatic access point and less devices to manage.
The Contact Interface measures a NC or NO contact loop. NC (normally closed) means, the contact loop is, in it’s regular state closed, so electricity can flow. NO (normally open) means the exact opposite: the contact loop is in it’s default state open and closes upon events. The NC and NO setting can be changed in the app afterwards.
It’s the idea to add the sensors in a series connection to the interface. By this, the sensors will look like just one single contact loop to the interface instead of two. One requisite is, that all used sensors must be NC connectors. This means that both sensors (glass not broken and window/door closed) allows the electricity to flow through both sensors and back to the interface. If you would choose for NO sensors BOTH would need to be alarmed for the sensor tho register flow of electricity. Having a burglar open the window AND breaking it first, is very unlikely. Same applies if you mix NC and NO sensors – only the NO sensor would then decide whether the alarm goes off or not. The above mentioned sensors both are normally closed.

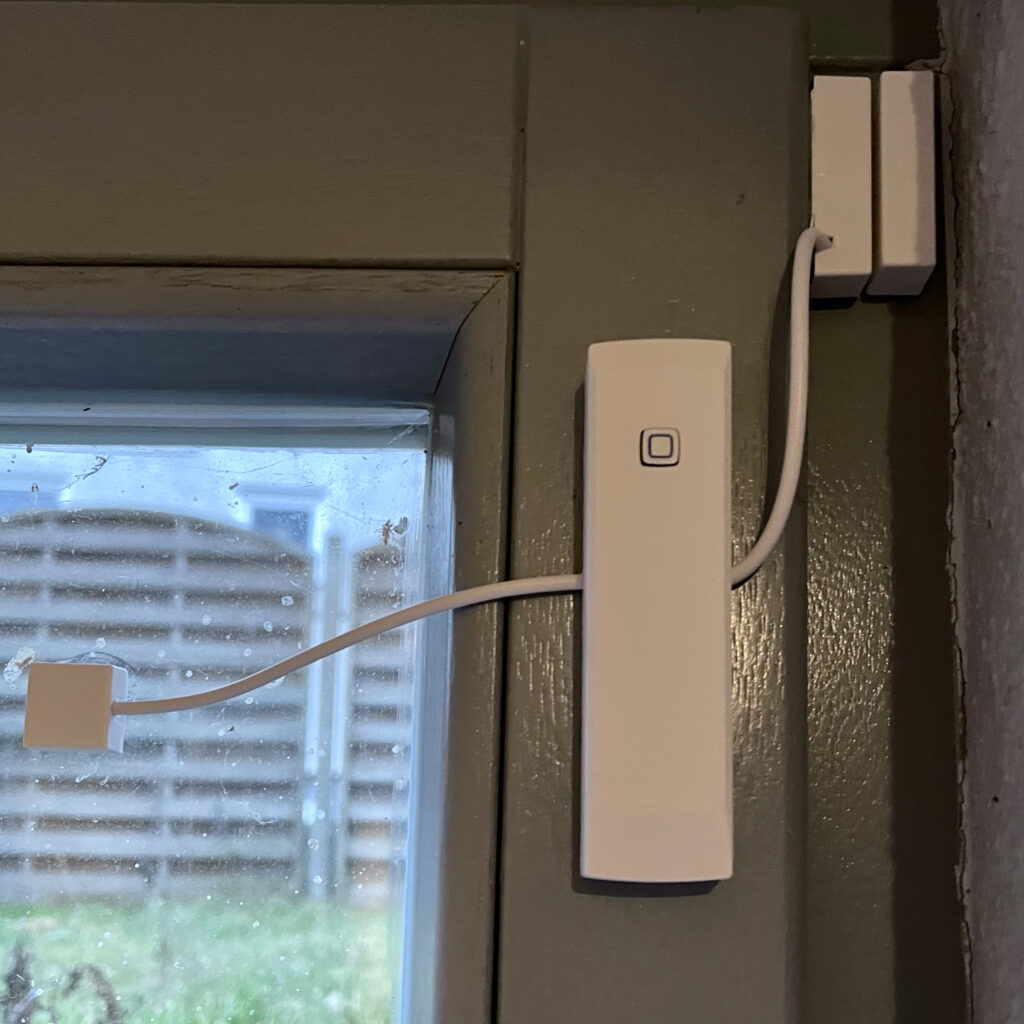
The biggest challenge though is the packaging. The contact interface does not have much space inside for a lot of wiring. Also the holes to route the cables through are quite small. After trying a few variants, I opted in for this setup. It allows me to position the interface freely, I don’t have wires that have to deal with the opening window (which I would have if the interface is not on the window itself) and I don’t have a lot of cables to hide. I routed both cables into the interface from different sides, allowing for enough space inside. Then I connected one wire from each sensor and the other two were plugged into the interface – creating a connection loop.
Inside the HomeMatic App the connection interface can be associated with alarm and climate control – allowing the window open sensor to also dimm the heating if you open the window during the day.
I hope this got you some ideas what and how to use HomeMatic IP interfaces and sensors. If you have questions or additional ideas, share them in the comments below.


